If you’ve been following the past two tutorials, you’ve learned how to build a tic-tac-toe game and guessing game in Python. These games are fun to an extent, but they are limited. We want to make our games more colorful and engaging. To do this, we need to add graphics.
Getting Started With Graphics in Python
There are several frameworks in Python for adding graphics. The most popular and widely used is Tkinter. It is the only framework that is built into the Python standard library and has cross platform support. Due to these advantages, we will be using Tkinter for this tutorial.
Exploring Tkinter
Before we get start building our GUI application, you should explore some of the awesome projects that people have built with Tkinter. These include:
- A weather app
- An alarm clock
- A drawing app
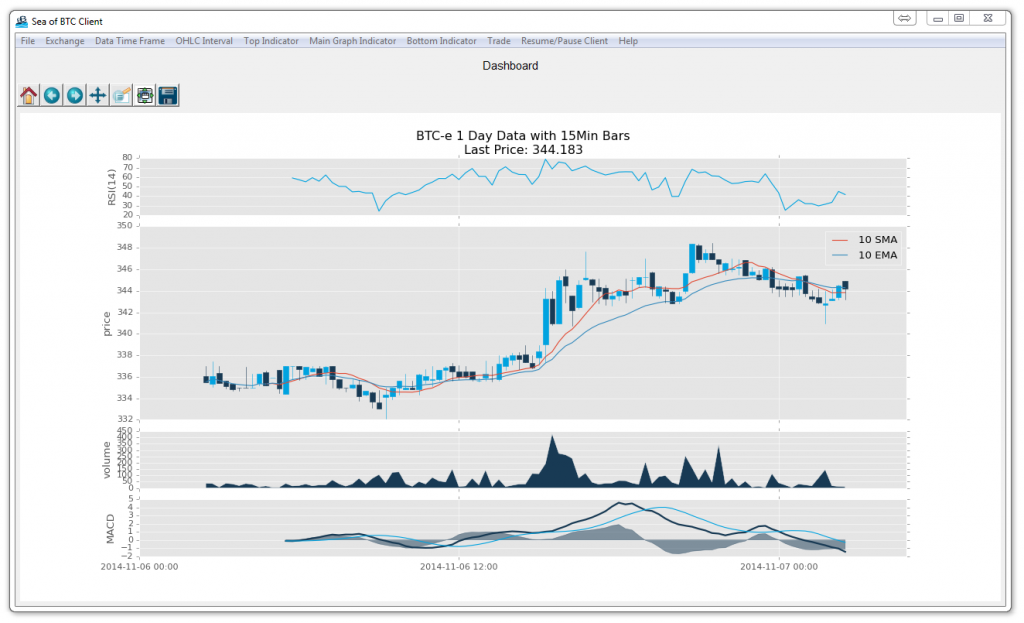
- A stock market analysis tool
These are just a few of the many amazing applications that can be built with Tkinter.
Obviously, the people who built these projects have years of programming experience. However, you too can start building GUI applications. This tutorial will show you how to make your first GUI application using Python and Tkinter.
Let’s get started!
First GUI Project: Coin Flip Simulation

We will be building a coin flip simulation with Python and Tkinter. First we will access online images of the heads and tails of a coin. Then we will randomly choose which one to display when the user “flips the coin.”
Outlining the Steps
Let’s start by examining the Tkinter documentation. From this we can infer the first few steps in creating our application:
- Import the tkinter module
- Create the GUI application main window
- Add widgets to the main window
- Enter the main event loop
Installing & Importing Tkinter
If you have not already done so, you will need to download and install Python. Tkinter comes bundled with Python and does not require an additional installation. You can check that Python and Tkinter are installed by opening the command prompt and typing:
python -m tkinter
This should open up a simple pop-up window letting you know which version of Tkinter is installed. Now we can import tkinter into our program:
import tkinter as tk
from tkinter import *
Creating the Main Window
Now that we’ve imported tkinter, we will set up the main window for our GUI application.
root = Tk()
root.title("Coin Flipping Game")
root.geometry('500x500')
Adding Title & Instructions
Next, let’s add a title and some instructions. We can do this by using the Label and Text widgets:
l = Label(root, text="Coin Flipping Game")
l.config(font=("Courier", 14))

t = Text(root, width=52, height=5)
t.insert(INSERT, "Instructions: Flip the coin and observe the result.")

l.pack()
t.pack()
Loading The Coin Image
We will use the Pillow module to load and display an image of a coin. First, download images of heads and tails and save them to your root directory. Then, install Pillow by opening the command prompt and typing:
pip install Pillow
Now, let’s import Pillow and use it to load the heads and tails images. Be sure to resize the images or they will not fit into the main window. We will only render heads for now:
from PIL import Image, ImageTk

#load heads
load = Image.open("heads.jpg")
load = load.resize((150, 150))
heads = ImageTk.PhotoImage(load)

#load tails
load = Image.open("tails.jpg")
load = load.resize((150, 150))
tails = ImageTk.PhotoImage(load)

i = Label(root, image=heads)
i.pack()
Flipping The Coin
Next, we need to add a button that the user can press to flip the coin. Be sure to pack the button before the image of the coin:
b = Button(root, text="Flip Coin", bg='lightblue', fg='white', activebackground="lightgray", padx=10, pady=10)
b.config(font=("Courier", 8))
b.pack()
Adding Functionality to Our Button
We’ve added the button, but it doesn’t do anything yet. To fix that, we will write a callback function called flip() that will run when the button is clicked. The function will randomly pick between the heads and tails images and render the new image:
import random

def flip():
    num = random.randint(0,1)
    if num == 0:
        i.config(image=heads)
    else:
        i.config(image=tails)

b = Button(root, text="Flip Coin", bg='lightblue', fg='white', activebackground="lightgray", padx=10, pady=10, command=flip)
Adding An Exit Button
Finally, let’s add an exit button which will close the main screen when clicked:
e = Button(root, text="Exit Game", bg='gray', fg='white', activebackground="lightgray", padx=40, pady=20, command=exit)
e.config(font=("Courier", 14))
Checking Your Progress
If you’ve done everything correctly, your layout should look like this:
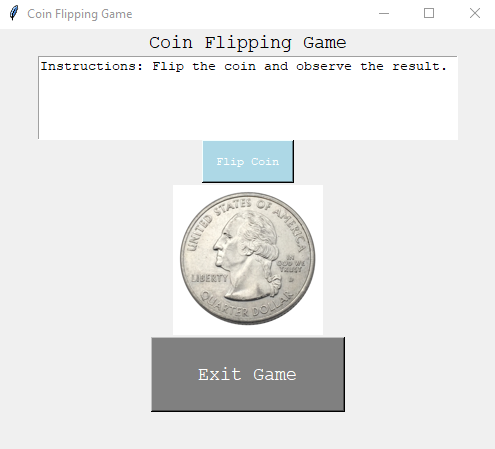
You should check to make sure that the following features work:
- When ‘Flip Coin’ is pressed, the coin switches between heads and tails
- When ‘Exit Game’ is pressed, the main window closes
- The title and instructions are properly formatted
If each of these features work, your game is complete. Great job!
Conclusion and Further Applications
Congratulations on building your first GUI in Python!
You should feel proud of yourself. You have made your first GUI application in Python and have gained proficiency with Tkinter.
I encourage you to tinker around with the above code. Try adding additional features to enhance the quality of the game. Here are some ideas to get you started:
- Add better spacing between the different game sections
- Add a progress bar in between coin flips
- Try replacing the coin with a die.
Thank you for reading and be sure to subscribe to our mailing list.
Excellent tutorial and great explanation!